How to Choose the Right Solar Panels for Your RV
Your comprehensive guide to power output, efficiency ratings, and installation options
Shop Solar Panels NowWhy Solar Power for Your RV?
Solar panels have become essential equipment for RV enthusiasts seeking energy independence and sustainable power solutions. Whether you’re planning extended boondocking trips or simply want to reduce reliance on campground hookups, choosing the right solar setup is crucial for a comfortable RV lifestyle.
This comprehensive guide will walk you through everything you need to know about selecting, sizing, and installing solar panels on your RV. From understanding power requirements to comparing different panel technologies, you’ll gain the knowledge needed to make an informed investment in your mobile power system.
Fixed vs. Portable vs. Hybrid Solar Setups
One of the first decisions you’ll make is choosing between fixed roof-mounted panels, portable ground-deploy systems, or a hybrid approach combining both. Each configuration offers distinct advantages depending on your travel style and camping preferences.
Fixed Roof-Mounted
Best for: Full-timers and frequent travelers
Fixed panels are permanently mounted to your RV roof, providing continuous charging whenever sunlight is available. This hands-off approach means your batteries charge automatically while driving or parked, without any setup required.
Advantages: Always charging, no storage needed, secure from theft, aerodynamic when flush-mounted, set-and-forget convenience.
Disadvantages: Limited to roof orientation, less efficient when parked in shade, requires roof penetrations for installation.
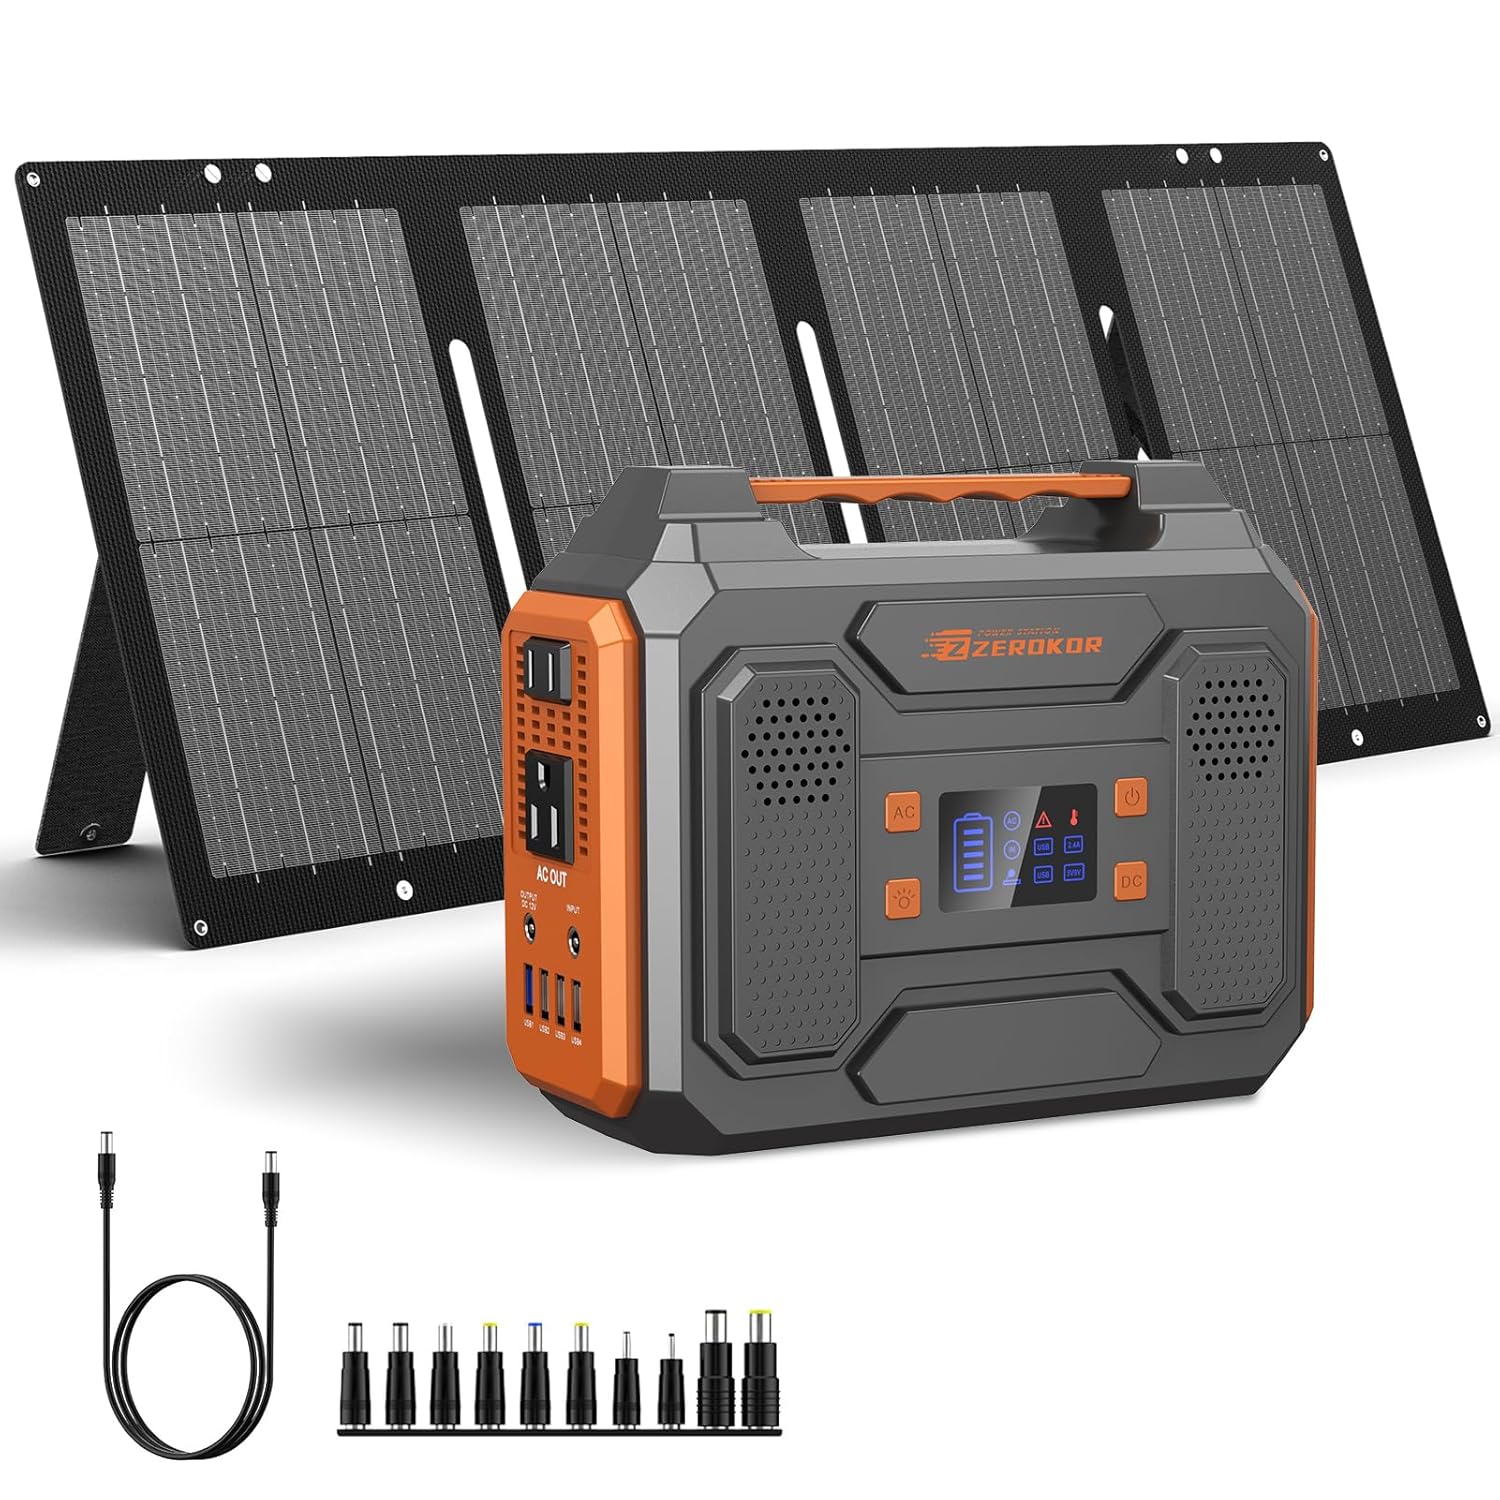
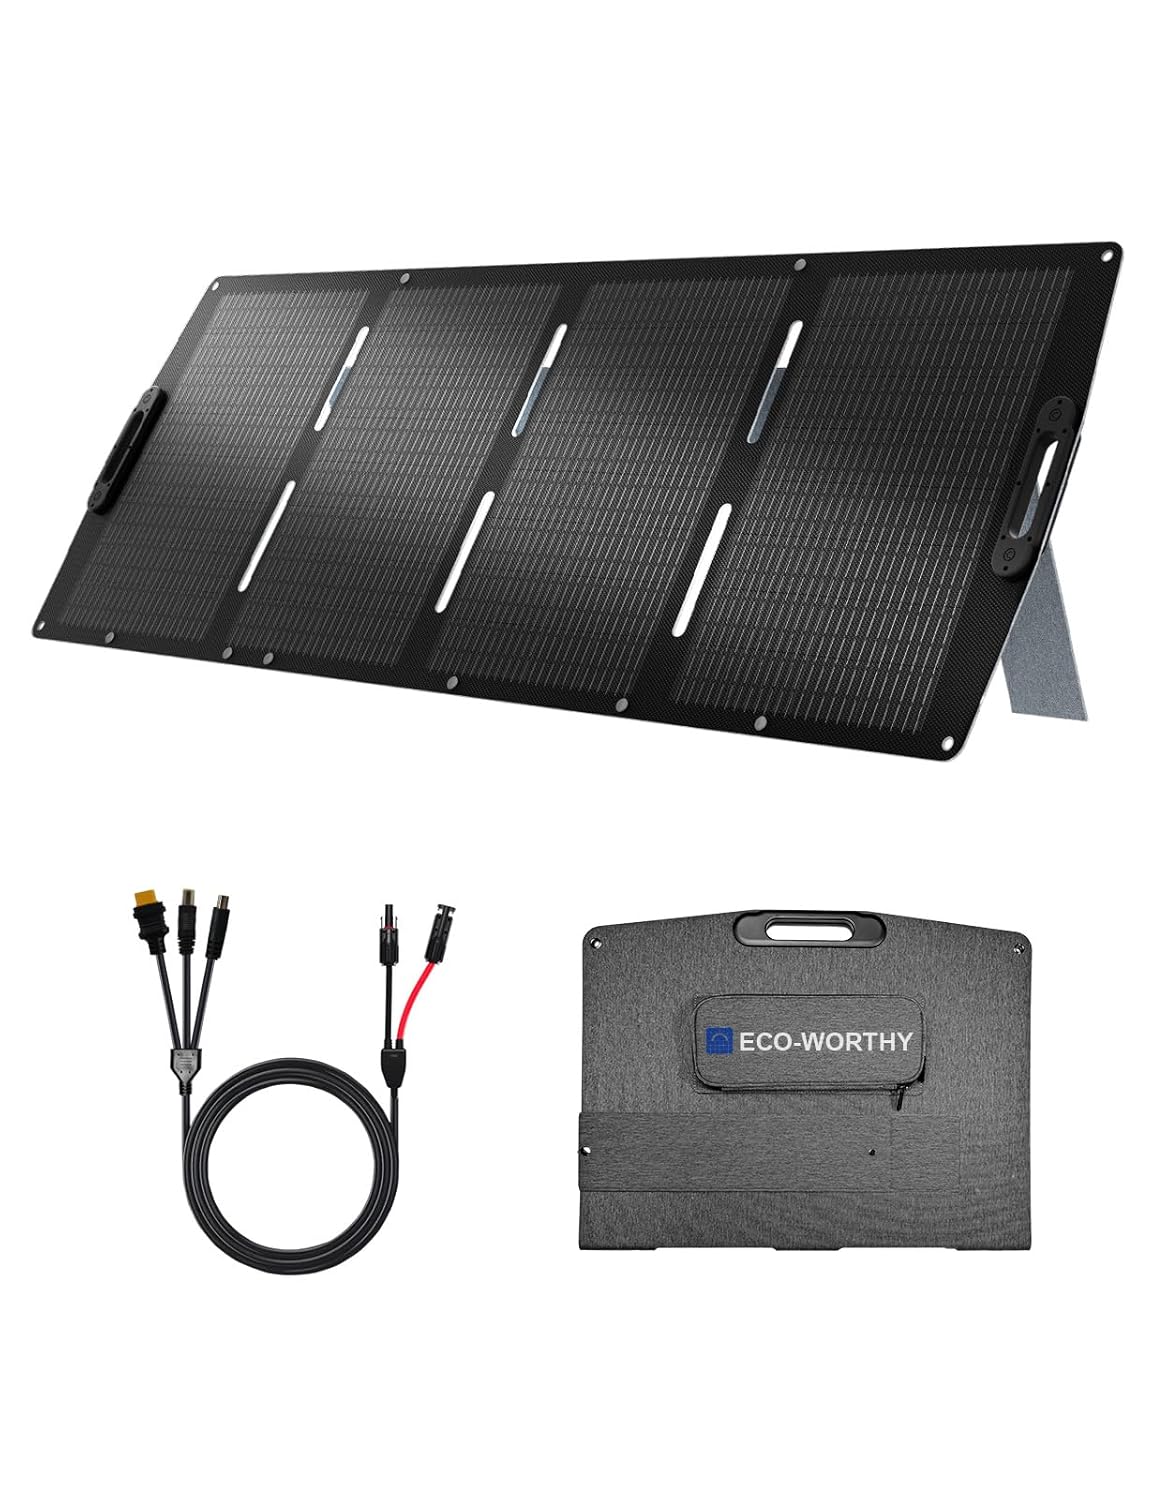
Portable Ground-Deploy
Best for: Weekend warriors and partial-shade campers
Portable panels can be positioned for optimal sun exposure regardless of where your RV is parked. This flexibility is invaluable when camping under trees or when your RV roof faces away from the sun.
Advantages: Aim directly at sun, camp in shade while panels are in sun, easy angle adjustment, no roof modifications needed.
Disadvantages: Requires daily setup/takedown, needs storage space, must be monitored for security, less convenient for quick stops.
Hybrid System
Best for: Serious boondockers and extended stay campers
A hybrid approach combines a smaller fixed roof array with portable expansion panels for extended stays. This provides baseline charging capability with the option to boost power production when needed.
Advantages: Maximum flexibility, optimal efficiency, scalable power, best of both worlds.
Disadvantages: Higher initial cost, more complex system management, requires storage for portable panels.
Monocrystalline vs. Polycrystalline Solar Panels
Understanding the difference between monocrystalline and polycrystalline panels is crucial for making the right investment. While both technologies convert sunlight into electricity, their efficiency, longevity, and space requirements differ significantly.
Monocrystalline Panels: The RV Standard
Monocrystalline panels are made from single-crystal silicon, giving them their characteristic uniform black appearance. These are the premium choice for RV applications and have become the de facto standard for mobile solar installations.
Efficiency: Monocrystalline panels achieve efficiency ratings of 20-23%, meaning they convert one-fifth or more of sunlight into usable electricity. This superior efficiency translates directly into more power from limited RV roof space.
Longevity: With typical warranties of 25-30 years and minimal degradation (usually less than 0.5% annually), monocrystalline panels will likely outlast your RV. This long-term reliability makes them an excellent investment for serious RVers.
Space Efficiency: A 400W monocrystalline panel occupies approximately 20-25 square feet of roof space. The same wattage in polycrystalline would require 25-30 square feet, making monocrystalline the clear winner for space-constrained RV roofs.
Polycrystalline Panels: The Budget Option
Polycrystalline panels are manufactured from multiple silicon crystals, creating their distinctive blue, speckled appearance. While less efficient than monocrystalline, they were historically cheaper to produce.
Efficiency: Polycrystalline panels typically achieve 15-18% efficiency, requiring more surface area to generate the same power output as monocrystalline alternatives.
Current Market Reality: The price gap between monocrystalline and polycrystalline has narrowed dramatically in recent years. Today, you’ll pay only $0.10-0.20 per watt more for monocrystalline panels, a difference of $40-80 on a 400W panel.
| Feature | Monocrystalline | Polycrystalline |
|---|---|---|
| Efficiency | 20-23% | 15-18% |
| Lifespan | 25-30 years | 20-25 years |
| Space for 400W | 20-25 sq ft | 25-30 sq ft |
| Cost per Watt | $0.70-1.00 | $0.60-0.80 |
| Low-Light Performance | Excellent | Good |
| Heat Tolerance | Good | Better |
| RV Recommendation | ✓ Best Choice | Not Recommended |
How Many Watts Do You Actually Need?
Determining your solar panel wattage requirements starts with understanding your daily power consumption. The goal is to generate enough energy to meet your needs while accounting for variable weather conditions and seasonal sun angles.
Understanding the Solar Power Formula
Solar panels produce power based on available sunlight, measured in “peak sun hours.” In optimal conditions, you can expect these rough conversions:
100W Panel: Generates approximately 30-40Ah per day (400-500Wh) in full sun conditions with 4-5 peak hours. This is enough for basic LED lighting, phone charging, and small electronics.
400W System: Produces 120-160Ah daily (1,600-2,000Wh), supporting a residential fridge, LED lighting, water pump, laptops, and phone charging. This is the sweet spot for weekend warriors and light off-grid use.
800-1,200W Array: Delivers 240-480Ah per day (3,200-6,000Wh), handling heavy loads including air conditioning (for limited periods), induction cooking, power tools, and extended cloudy weather reserves. This is the range for serious boondockers and full-time off-grid living.
Matching Solar to Battery Capacity
Your solar array should be sized to replenish your battery bank fully in 4-6 hours of good sunlight. This relationship is crucial for system balance.
Example Calculation: A 400Ah LiFePO4 battery bank provides 2,000-3,000Wh of usable energy (50-75% depth of discharge). To recharge this in 5 peak sun hours, you’d need:
2,500Wh ÷ 5 hours ÷ 0.85 (system efficiency) = 588W of solar panels
In practice, a 600W solar array paired with a 400Ah lithium battery bank is an excellent, balanced system for serious RV living.
Real-World Power Consumption Examples
Light User (200-400W System):
- LED lights: 50W for 4 hours = 200Wh
- Water pump: 50W for 1 hour = 50Wh
- Phone/tablet charging: 20W for 4 hours = 80Wh
- 12V fan: 30W for 8 hours = 240Wh
- Laptop: 60W for 3 hours = 180Wh
- Total: ~750Wh/day
Moderate User (400-800W System):
- Residential fridge: 150W average for 24 hours = 1,200Wh
- LED lights: 75W for 5 hours = 375Wh
- Water pump: 50W for 1.5 hours = 75Wh
- MaxxFan: 40W for 10 hours = 400Wh
- Laptop + phone charging: 80W for 4 hours = 320Wh
- TV/Entertainment: 100W for 3 hours = 300Wh
- Total: ~2,670Wh/day
Heavy User (800-1,200W+ System):
- Everything above, plus:
- Microwave: 1,000W for 0.25 hours = 250Wh
- Coffee maker: 800W for 0.25 hours = 200Wh
- Hair dryer: 1,500W for 0.15 hours = 225Wh
- Electric heater supplement: 500W for 4 hours = 2,000Wh
- Total: ~5,345Wh/day
Mounting Options & Aerodynamics

How you mount your solar panels affects not only power generation but also fuel economy, wind noise, and system longevity. Understanding the trade-offs between mounting styles helps optimize your installation.
Roof-Mounted Options
Flush Mounting
Flush mounts sit directly on the roof surface with minimal clearance (typically 1-2 inches). This low-profile approach is the most common for RVs.
Advantages: Minimal wind resistance, quieter at highway speeds, lower profile for tree clearance, sleek appearance, simple installation.
Disadvantages: Fixed at roof angle (usually flat or slightly curved), panels run hotter (reducing efficiency by 5-10%), cannot adjust for seasonal sun angles, more difficult to clean underneath.
Tilting Bracket Systems
Tiltable mounts allow you to angle panels toward the sun, particularly valuable during winter months when the sun sits low on the horizon.
Power Gain: Tilting panels can increase production by 15-25% in winter and 10-15% in summer compared to flat mounting. For a 600W system, this means an extra 90-150W of production during peak hours.
Trade-offs: Increased wind resistance when tilted (avoid driving with panels angled), higher profile (watch clearance), more complex installation, typically 50-75% more expensive than flush mounts.
Portable Deployment Options
Portable panels come in several form factors, each with specific use cases:
Folding Suitcase Panels: Self-contained units that unfold like a suitcase, typically 100-200W. Include built-in kickstands and charge controllers. Best for occasional use and easy storage.
Blanket/Flexible Panels: Lightweight panels that can drape over picnic tables or lay flat on the ground. Very portable but less durable, with 5-7 year typical lifespans versus 25+ years for rigid panels.
Tripod/Frame Systems: Rigid panels on adjustable stands, offering best durability and angle adjustment. Heavier and bulkier but most effective for extended deployments.
Cable Management & Waterproofing
Proper installation requires meticulous attention to roof penetrations and wiring. Every hole through your RV roof is a potential leak point that must be sealed correctly.
Best Practices:
- Use marine-grade dicor lap sealant for all roof penetrations
- Install cable entry glands with double waterproof seals
- Run wires through existing conduit when possible to minimize penetrations
- Use MC4 connectors for all panel connections (waterproof and standardized)
- Secure cables every 12-18 inches to prevent wind damage and chafing
- Include drip loops at entry points to prevent water migration
- Annual inspection and re-sealing of all roof penetrations
Aerodynamics & Weight Distribution
Solar panels add both weight and wind resistance to your RV. While the impact is modest, it’s worth considering for fuel economy and handling.
Weight Impact: Rigid panels weigh approximately 15-20 pounds per 100W. A 600W system adds 90-120 pounds to your roof, well within limits for most RVs but significant for smaller trailers.
Fuel Economy: Flush-mounted panels have minimal aerodynamic impact (0.5-1% fuel economy reduction). Tiltable mounts when raised can increase drag by 2-4%, costing 0.5-1 MPG at highway speeds.
Wind Noise: Properly installed flush mounts are virtually silent. Poorly sealed edges or tilted panels can whistle or vibrate at highway speeds, requiring foam weather stripping to eliminate.
Charge Controllers: MPPT vs. PWM
Your charge controller is the brain of your solar system, regulating power flow from panels to batteries. The choice between MPPT (Maximum Power Point Tracking) and PWM (Pulse Width Modulation) controllers significantly impacts system efficiency and overall performance.
Why MPPT is Worth the Investment
MPPT charge controllers are sophisticated electronic devices that continuously optimize the power harvest from your solar panels. Unlike simple PWM controllers, MPPT units can extract 20-30% more power from the same panel array, especially in less-than-ideal conditions.
How MPPT Works: MPPT controllers convert excess voltage into additional amperage, allowing panels to operate at their optimal voltage while charging batteries at the correct voltage. This voltage conversion is particularly valuable in cold weather when panels produce higher voltages.
Efficiency Advantage: In real-world RV applications, MPPT controllers typically deliver 20-30% more power than PWM alternatives. For a 600W system, that’s an extra 120-180W of usable power, equivalent to adding another solar panel for free.
Voltage Compatibility and Sizing
Proper charge controller selection requires matching panel voltage specifications with controller input limits. This is critical for system safety and performance.
Open Circuit Voltage (Voc): Every solar panel has an open circuit voltage listed on its specifications. In cold temperatures, this voltage can exceed the rated Voc by 20-25%. Your charge controller’s maximum voltage rating must exceed your array’s cold-weather Voc.
Amperage Sizing: Calculate your controller’s amperage requirement by dividing total panel wattage by battery voltage, then adding 25% headroom. For a 600W array with a 12V battery bank: 600W ÷ 12V × 1.25 = 62.5A minimum controller rating.
PWM Controllers: When They Make Sense
PWM controllers are simpler, cheaper devices that directly connect solar panels to batteries while regulating voltage. They work best when panel voltage closely matches battery voltage.
Use Cases for PWM: Very small systems under 200W, budget-constrained installations, or situations where panel voltage matches battery voltage. For most modern RV applications, the cost savings don’t justify the efficiency loss.
| Feature | MPPT Controller | PWM Controller |
|---|---|---|
| Efficiency | 94-98% | 70-80% |
| Cold Weather Performance | Excellent (+20-30%) | Standard |
| Panel Voltage Flexibility | High (12-150V typical) | Must match battery |
| Cost (40A unit) | $150-400 | $40-80 |
| Best For | Systems over 200W | Systems under 100W |
| ROI Timeframe | 1-2 years through extra power | Immediate but lower output |
Integration with Battery Systems
Your solar panels are only as effective as the battery system storing their energy. The chemistry, capacity, and configuration of your battery bank dramatically affect solar system performance and usability.
LiFePO4 (Lithium) vs. Lead-Acid Compatibility
Battery chemistry fundamentally changes how your solar system operates. While both work with solar panels, lithium batteries offer overwhelming advantages for RV applications.
Why LiFePO4 Pairs Perfectly with Solar
Charge Acceptance Rate: Lithium batteries accept charge current at rates up to 1C (100A for a 100Ah battery), meaning they can absorb all available solar power quickly. Lead-acid batteries are limited to 0.2-0.3C, often unable to fully utilize large solar arrays.
Depth of Discharge: LiFePO4 batteries safely discharge to 80-90% depth, providing 320-360Ah of usable energy from a 400Ah bank. Lead-acid batteries should only be discharged to 50%, giving just 200Ah usable from the same rated capacity.
Charging Efficiency: Lithium batteries are 95-98% efficient in both directions, losing minimal energy to heat. Lead-acid batteries waste 15-20% of input energy during charging, requiring more solar capacity to achieve the same stored energy.
Charge Time: A depleted 400Ah lithium bank can fully recharge in 3-4 hours with adequate solar. The same capacity in lead-acid requires 6-8 hours due to slower charge acceptance and multi-stage charging requirements.
When to Upgrade Your Charge Controller
Upgrading to lithium batteries often requires a new charge controller configured for LiFePO4 charging profiles. Most modern MPPT controllers support multiple battery chemistries, but older units may not.
Critical Settings: LiFePO4 batteries require different voltage setpoints than lead-acid. Bulk charging: 14.2-14.6V, Float: 13.4-13.8V, compared to lead-acid’s 14.4-14.8V bulk and 13.2-13.6V float. Using incorrect settings can damage batteries or prevent full charging.
Inverter Considerations
Your inverter must handle the power draw from your largest AC appliances while working harmoniously with your battery bank. Lithium batteries can supply high current surges that may overload undersized inverters.
Sizing Rule: Choose an inverter rated for 1.25-1.5× your maximum simultaneous AC load. If you run a 1,000W microwave and 500W coffee maker together, you need at least a 2,000W inverter (1,500W × 1.25).
Battery Bank Sizing for Solar
Your battery capacity should store 1.5-2× your daily energy consumption, providing reserve for cloudy days and preventing excessive cycling.
Calculation: If you use 2,500Wh daily, you need 3,750-5,000Wh of storage. In LiFePO4 terms (12.8V nominal), that’s 293-391Ah, making a 400Ah bank appropriate. In lead-acid terms (only 50% usable), you’d need 600-800Ah rated capacity.
Weight, Storage, and Durability Considerations
Panel Weight and Roof Load Limits
Solar panel weight is often underestimated in RV installations. While individual panels seem manageable, a complete system with mounting hardware adds significant roof load.
Weight Breakdown (per 100W):
- Rigid monocrystalline panel: 15-20 lbs
- Mounting brackets and hardware: 3-5 lbs
- Total installed weight: 18-25 lbs per 100W
System Examples:
- 400W system: 72-100 lbs total roof weight
- 800W system: 144-200 lbs total roof weight
- 1,200W system: 216-300 lbs total roof weight
Roof Load Capacity: Most RV roofs safely support 8-12 lbs per square foot when properly distributed. A 400W system occupies roughly 25-30 square feet, putting 2.4-4.0 lbs/sq ft, well within safe limits. Smaller trailers and pop-ups may have lower weight ratings requiring careful calculation.
Weather Ratings and Hail Resistance
Quality solar panels are remarkably durable, designed to withstand decades of outdoor exposure. Understanding ratings helps select panels that will survive your travel conditions.
IP Ratings: Look for minimum IP65 rating, meaning complete dust protection and resistance to water jets from any direction. Most quality RV panels achieve IP67 (temporary immersion protection) or IP68 (continuous immersion protection).
Hail Resistance: Quality panels are tested to withstand 1-inch hail at 50 MPH (typical testing standard). Premium panels survive 1.5-inch hail. Tempered glass construction is essential for impact resistance; avoid panels with thin or untempered glass.
Temperature Ratings: Solar panels must operate in extreme temperature ranges from -40°F to +185°F. Quality panels have temperature coefficients showing power loss per degree above 77°F, typically -0.3% to -0.5% per °C.
Flexible Panel Degradation
Flexible solar panels offer installation advantages but come with significant durability trade-offs that RVers should understand before purchasing.
Lifespan Reality: Flexible panels typically last 5-7 years before significant power degradation, compared to 25-30 years for rigid panels. This shorter lifespan means flexible panels must be replaced 4-5 times over the life of rigid panels.
Degradation Causes: UV exposure breaks down the polymer encapsulation, heat buildup from mounting directly to roofs (no air circulation) accelerates cell degradation, and flexing causes micro-cracks in cells over time. These factors compound to rapidly reduce output.
When Flexible Makes Sense: Curved roofs that can’t accept rigid panels, temporary installations where lifespan isn’t critical, ultra-lightweight applications (van conversions, sailboats), or backup/portable systems. For permanent RV installations, rigid panels offer far better value despite higher initial cost.
Storage Considerations for Portable Panels
Portable solar panels require secure storage when traveling. Improper storage can damage panels and create safety hazards.
Storage Requirements: Folding panels need 20-30 inches of cargo space when closed. Protect from shifting during travel using straps or cargo nets. Store in climate-controlled areas when possible; extreme heat and cold cycles in exterior storage compartments accelerate degradation.
Protective Cases: Invest in padded carrying cases for portable panels if they didn’t include one. Protection from road vibration and impacts extends panel life significantly.
Cost Breakdown & Return on Investment

Current Solar Pricing (2025)
Solar panel prices have dropped dramatically over the past decade, making RV solar more accessible than ever. Understanding current market pricing helps budget your installation accurately.
Price Per Watt Breakdown:
- Rigid monocrystalline panels: $0.70-$1.00 per watt
- Portable folding panels: $1.50-$2.50 per watt
- Flexible panels: $1.20-$1.80 per watt
- Complete kits with controller: $1.50-$2.00 per watt
Complete System Costs by Size
400W Entry-Level System
- Two 200W monocrystalline panels: $280-400
- 30A MPPT charge controller: $120-200
- Mounting hardware and brackets: $80-150
- Wiring, MC4 connectors, fuses: $60-100
- Roof sealant and supplies: $30-50
- DIY Total: $570-900
- Professional Installation: $1,200-1,500
800W Mid-Range System
- Four 200W monocrystalline panels: $560-800
- 50A MPPT charge controller: $200-350
- Heavy-duty mounting system: $150-250
- Wiring and electrical components: $100-150
- Installation supplies: $40-60
- DIY Total: $1,050-1,610
- Professional Installation: $2,200-2,800
1,200W Advanced System
- Six 200W monocrystalline panels: $840-1,200
- 60A MPPT charge controller: $300-500
- Professional mounting system with tilt: $250-400
- Heavy-gauge wiring and components: $150-200
- Monitoring system: $100-200
- Installation supplies: $50-80
- DIY Total: $1,690-2,580
- Professional Installation: $3,200-4,200
Return on Investment Analysis
Solar panels pay for themselves through multiple value streams that accumulate over years of RV ownership.
Direct Cost Savings
Generator Runtime Reduction: A 600W solar system producing 2,500Wh daily eliminates 2-3 hours of generator runtime. At $3-5 per gallon for gasoline and 0.5 gallons/hour consumption, that’s $3-7.50 saved daily, or $1,095-2,737 annually for full-time RVers.
Campground Fees: Solar enables boondocking on free public lands instead of $30-60 nightly campgrounds. Even reducing paid camping by 50 nights per year saves $1,500-3,000 annually.
Propane Reduction: Solar-powered refrigerators and reduced generator charging needs cut propane consumption by 30-50%. For full-timers using 8-12 gallons monthly, that’s $144-288 annual savings at $4/gallon.
Payback Timeline Examples
Weekend Warrior (400W system, $1,200 installed): Camping 40 nights yearly, saving $20/night on campground fees through boondocking = $800 annual savings. Payback in 1.5 years.
Frequent Traveler (800W system, $2,500 installed): Traveling 150+ days yearly, eliminating 400 hours of generator runtime saving $1,200, plus 60 nights boondocking saving $1,800 in campground fees = $3,000 annual savings. Payback under 1 year.
Full-Timer (1,200W system, $4,000 installed): Year-round boondocking and minimal generator use saves $3,500+ annually in campground fees, $2,000 in generator fuel and maintenance = $5,500+ annual savings. Payback in 8-10 months.
Resale Value Impact
Quality solar installations add significant resale value to RVs. Buyers increasingly expect solar capability, and well-documented systems command premium pricing.
Value Addition: A properly installed solar system typically returns 60-80% of installation cost in increased resale value. A $3,000 system adds $1,800-2,400 to resale price, while also making your RV sell faster in competitive markets.
Financing and Incentives
While RV solar typically doesn’t qualify for residential solar tax credits, some financing options and incentives may be available depending on your situation.
Potential Savings:
- Some states offer solar rebates for mobile installations (verify local programs)
- RV solar may qualify for alternative energy tax credits if RV is primary residence
- Bulk buying clubs (Costco, Sam’s Club) offer periodic solar kit discounts
- Off-season installation discounts (November-February) save 10-20%
Maintenance and Troubleshooting

Regular Maintenance Schedule
Solar panels are remarkably low-maintenance, but periodic attention ensures optimal performance and longevity.
Monthly Tasks:
- Visual inspection for cracks, damage, or loose connections
- Check mounting hardware for tightness
- Monitor system output to detect performance drops
- Clean panels if dust, pollen, or bird droppings accumulate
Quarterly Tasks:
- Inspect all wiring connections for corrosion
- Check roof sealant around mounting points
- Verify charge controller settings match current battery type
- Test system under load to confirm proper operation
Annual Tasks:
- Deep clean panels with proper solar panel cleaner
- Re-seal all roof penetrations with fresh sealant
- Inspect and clean battery terminals
- Update charge controller firmware if available
- Document system performance for comparison
Panel Cleaning Best Practices
Clean panels produce 15-25% more power than dirty ones. Proper cleaning technique prevents damage while maximizing output.
Safe Cleaning Method: Use deionized or distilled water with a soft brush or microfiber cloth. Avoid harsh chemicals, abrasive materials, or pressure washers. Clean early morning or evening when panels are cool to prevent thermal shock. For stubborn debris, use diluted isopropyl alcohol or dedicated solar panel cleaner.
Common Issues and Solutions
Low Power Output
Symptoms: System producing 30%+ less than expected in good sunlight.
Causes: Dirty panels (clean them), partial shading (reposition or trim obstructions), loose connections (inspect and tighten), degraded panels (test individual panel output).
No Charging
Symptoms: Batteries not charging despite good sunlight.
Causes: Blown fuses (check and replace), tripped breaker, disconnected wiring, failed charge controller (check display/LEDs), incorrect controller settings.
Overheating Controller
Symptoms: Charge controller hot to touch or showing temperature warnings.
Causes: Undersized controller for array, poor ventilation (ensure airflow), overloaded output (reduce simultaneous loads), controller malfunction (may need replacement).
Future-Proofing Your Solar System
Designing for Expansion
Smart initial design makes future expansion easier and more cost-effective.
Oversizing Strategies:
- Install charge controller rated for 150-200% of initial panel capacity
- Run thicker wire than minimally required (allows higher current later)
- Use modular battery banks that can be expanded
- Leave roof space for additional panels
- Install extra roof penetration for future panel additions
Emerging Solar Technologies
While current solar technology is mature and reliable, several emerging technologies may benefit RVers in coming years.
Bifacial Panels: Capture light from both sides, potentially increasing output by 5-15% when mounted with clearance allowing backside illumination. Most valuable for portable or tilted installations.
Perovskite Cells: Promise higher efficiency (30%+) and lower cost, but not yet commercially viable for RVs. Expected to enter market in 3-5 years.
Flexible CIGS Panels: Next-generation flexible panels with better durability than current polymer-based flexible panels. Currently expensive but improving.
Smart System Integration
Modern solar systems benefit from smart monitoring and automation.
Bluetooth/WiFi Monitoring: Track real-time solar production, battery status, and power consumption from your phone. Popular systems include Victron VenusGX, Renogy BT-1, and Xantrex monitoring apps.
Automated Load Management: Smart switches automatically prioritize loads based on available solar power, running heavy appliances only when excess power is available.
Cloud Data Logging: Historical data helps optimize system usage and diagnose issues. Many modern charge controllers include this capability.
Making Your Final Decision

Choosing the right solar panels for your RV involves balancing power needs, available space, budget, and travel style. For most RVers, high-efficiency monocrystalline panels with an MPPT charge controller represent the best long-term investment, offering superior performance and durability in a compact form factor.
Start with a realistic assessment of your daily power consumption, then size your system with 20-30% headroom for future needs and less-than-ideal conditions. A well-designed system should fully recharge your battery bank in 4-6 hours of good sunlight, providing energy security even during multi-day cloudy periods.
Don’t forget that solar panels are just one component of a complete power system. Invest in quality charge controllers, adequate battery capacity, and properly sized inverters to maximize the value of your solar investment. The difference between a mediocre system and an excellent one often comes down to proper component selection and integration.
Consider starting with a hybrid approach if budget is constrained. Install a modest 200-400W fixed roof array to provide baseline charging, then add portable panels as budget allows. This staged approach spreads costs while providing immediate benefits, and the flexibility of portable panels helps optimize power generation in challenging camping scenarios.
With proper planning and installation, a well-designed RV solar system will provide years of reliable, clean power for all your adventures. The freedom to camp off-grid without generator noise, fuel costs, or campground fees makes solar power one of the best upgrades you can make to your RV. Whether you’re a weekend warrior or full-time boondocker, solar independence transforms the RV lifestyle into something truly special.
Ready to Go Solar?
Start planning your RV solar installation today and enjoy the freedom of off-grid camping. Browse quality solar panels, charge controllers, and complete kits in our shop.
Shop Solar Panels NowFrequently Asked Questions
Can I install solar panels myself?
Yes, DIY installation is feasible for those with basic electrical knowledge and tools. The process involves mounting panels, running wiring, installing the charge controller, and proper waterproofing. Most RVers can complete a basic installation in 1-2 days. However, if you’re uncomfortable with electrical work or roof modifications, professional installation ensures proper waterproofing and optimal performance.
How long do RV solar panels last?
Quality monocrystalline panels typically last 25-30 years with minimal degradation (0.5% annually). Most manufacturers warranty panels for 25 years at 80-85% output. The charge controller (10-15 year lifespan) will likely need replacement before the panels. Batteries have shorter lifespans: LiFePO4 lasts 10-15 years, while lead-acid needs replacement every 3-5 years.
Will solar panels work in cloudy weather?
Yes, but at reduced capacity. Overcast conditions typically reduce output to 10-25% of rated capacity, while partly cloudy skies produce 40-70%. This is why sizing systems with headroom is important. Modern monocrystalline panels perform better in low-light conditions than older technologies. Plan for 2-3 days of battery storage to handle extended cloudy periods.
Can I run my RV air conditioner on solar?
Running AC on solar is possible but requires a substantial system. A typical 15,000 BTU RV air conditioner draws 1,500-2,000W continuously. You’d need 1,200-1,600W of solar panels, 600-800Ah of lithium batteries, and a 3,000W inverter minimum. Most RVers find this impractical and use AC only when shore powered or running a generator. Some limit AC to 2-3 hours daily on solar during peak sun.
Do I need to disconnect solar panels when storing my RV?
No, leaving panels connected is actually beneficial. Solar panels will trickle charge your batteries during storage, preventing discharge and extending battery life. However, ensure your charge controller has proper float settings to avoid overcharging. Some RVers install a disconnect switch for long-term storage (6+ months) or when performing electrical work.
What’s the minimum solar system size worth installing?
For meaningful benefit, start with at least 200W. This provides enough power for LED lights, water pump, phone charging, and small electronics. Below 200W, the investment barely offsets generator usage. Weekend warriors typically start with 200-400W, while full-timers should consider 600-1,200W for comfortable off-grid living.
Can I mix different solar panels in one system?
Mixing panels is possible but not ideal. When panels are wired in series, the lowest-performing panel limits the entire string. When wired in parallel, voltage differences can cause issues. Best practice: use identical panels from the same manufacturer. If mixing is necessary, use separate charge controllers for different panel types or ensure panels have matching voltage and similar wattage ratings.
How much maintenance do solar panels require?
Minimal maintenance is needed. Clean panels 2-4 times yearly or when visibly dirty. Inspect connections and roof sealant quarterly. Annual tasks include re-sealing roof penetrations and checking system performance. Unlike generators, solar panels have no moving parts, require no oil changes, and need no periodic service. This simplicity is a major advantage for RV applications.
Additional Resources
Recommended Tools for Installation
- Multimeter for electrical testing
- Wire crimping tool for MC4 connectors
- Caulk gun for roof sealant application
- Drill with appropriate bits for mounting
- Wire strippers and electrical tape
- Cable ties for wire management
- Fish tape for running wires through walls
Safety Equipment
- Safety harness for roof work (especially on taller RVs)
- Non-slip shoes with good grip
- Safety glasses for drilling and cutting
- Work gloves for handling panels and hardware
- First aid kit readily accessible
Online Communities and Forums
- RV.net Solar Forum – Active community with experienced installers
- Boondockers Welcome – Tips from experienced off-grid RVers
- r/RVLiving and r/GoRVing on Reddit – Current discussions and advice
- Victron Community – Excellent resource for system design
- YouTube channels: DIY Solar Power, Mortons on the Move, RV Solar Electric
Useful Apps
- Sun Seeker – Track sun position for optimal panel placement
- Solar Calculator apps – Estimate system sizing needs
- Victron Connect – Monitor Victron equipment
- Renogy BT – Monitor Renogy charge controllers
- Battery monitoring apps specific to your battery brand
Solar System Planning Checklist
Before You Buy
- ☐ Calculate daily power consumption (Wh/day)
- ☐ Measure available roof space for panels
- ☐ Check RV roof weight capacity
- ☐ Determine battery bank size needed
- ☐ Calculate solar panel wattage required
- ☐ Size charge controller appropriately
- ☐ Verify inverter capacity for AC loads
- ☐ Set realistic budget including installation
- ☐ Research panel and component brands
- ☐ Read reviews from other RVers
Installation Planning
- ☐ Decide DIY vs professional installation
- ☐ Choose mounting method (flush vs tilt)
- ☐ Plan wire routing to minimize roof penetrations
- ☐ Identify charge controller mounting location
- ☐ Ensure proper ventilation for controller
- ☐ Purchase quality marine-grade sealant
- ☐ Gather all tools before starting
- ☐ Plan work during dry weather
- ☐ Have helper available for lifting panels
After Installation
- ☐ Test system under load
- ☐ Verify all connections are secure
- ☐ Document system specifications
- ☐ Take photos of installation for future reference
- ☐ Register warranties for all components
- ☐ Create maintenance schedule
- ☐ Monitor daily performance for first week
- ☐ Check roof sealant after first rain
Start Your Solar Journey Today
Ready to experience the freedom of off-grid RV living? Browse our curated selection of solar panels, charge controllers, batteries, and complete kits. We’ve selected only the best-reviewed, RV-specific components to ensure your system performs flawlessly.
Browse Solar Products