Solar Power 101: Complete Guide to Boondocking
Master RV Solar Panels, Batteries & Inverters for Off-Grid Camping Adventures
Introduction to Off-Grid Solar Power
Solar panels on an RV enable unlimited boondocking freedom in remote locations
Boondocking—the art of camping off-grid without hookups—offers unparalleled freedom and adventure. However, without access to traditional electrical infrastructure, reliable power becomes essential. A well-designed solar power system is the cornerstone of successful boondocking, providing sustainable energy for all your RV needs.
This comprehensive guide explores the three critical components of any RV solar system: solar panels that capture energy, batteries that store power, and inverters that convert DC power to AC. Whether you’re a weekend warrior seeking quiet camping spots or a full-time RVer pursuing nomadic adventures, understanding solar power fundamentals will transform your boondocking experience.
- Independence from generator noise and fuel costs
- Silent, renewable energy for extended trips
- Environmental sustainability and low maintenance
- Scalable system that grows with your needs
RV Solar Panels: Capturing Energy
Solar panels form the foundation of your off-grid power system, converting sunlight into usable electricity. Understanding the different types and their characteristics is crucial for selecting the right panels for your boondocking adventures.
Modern monocrystalline solar panels offer high efficiency and durability for RV installations
Types of Solar Panels
Monocrystalline Panels
Single-crystal silicon construction provides the highest efficiency (18-22%), making them ideal for space-limited RVs. They perform better in low-light conditions and have a longer lifespan of 25-30 years.
Polycrystalline Panels
Multi-crystal construction offers moderate efficiency (15-17%) at a lower cost. They’re durable and suitable for RVs with more roof space, though they generate slightly more heat and are less efficient in shade.
Thin-Film Panels
Lightweight and flexible design works on curved RV roofs. However, they offer lower efficiency (10-13%) and degrade faster, making them less popular for permanent installations despite their flexibility.
Key Panel Specifications
| Specification | Typical Range | What It Means |
|---|---|---|
| Wattage | 100-400W | Power output rating under ideal conditions; higher wattage = more energy production |
| Efficiency | 15-22% | Percentage of sunlight converted to electricity; higher efficiency = more power in less space |
| Voltage (Voc) | 30-50V | Open circuit voltage; used for system design and charge controller selection |
| Temperature Coefficient | -0.3 to -0.5%/°C | Power loss per degree Celsius above 25°C; important for hot climates |
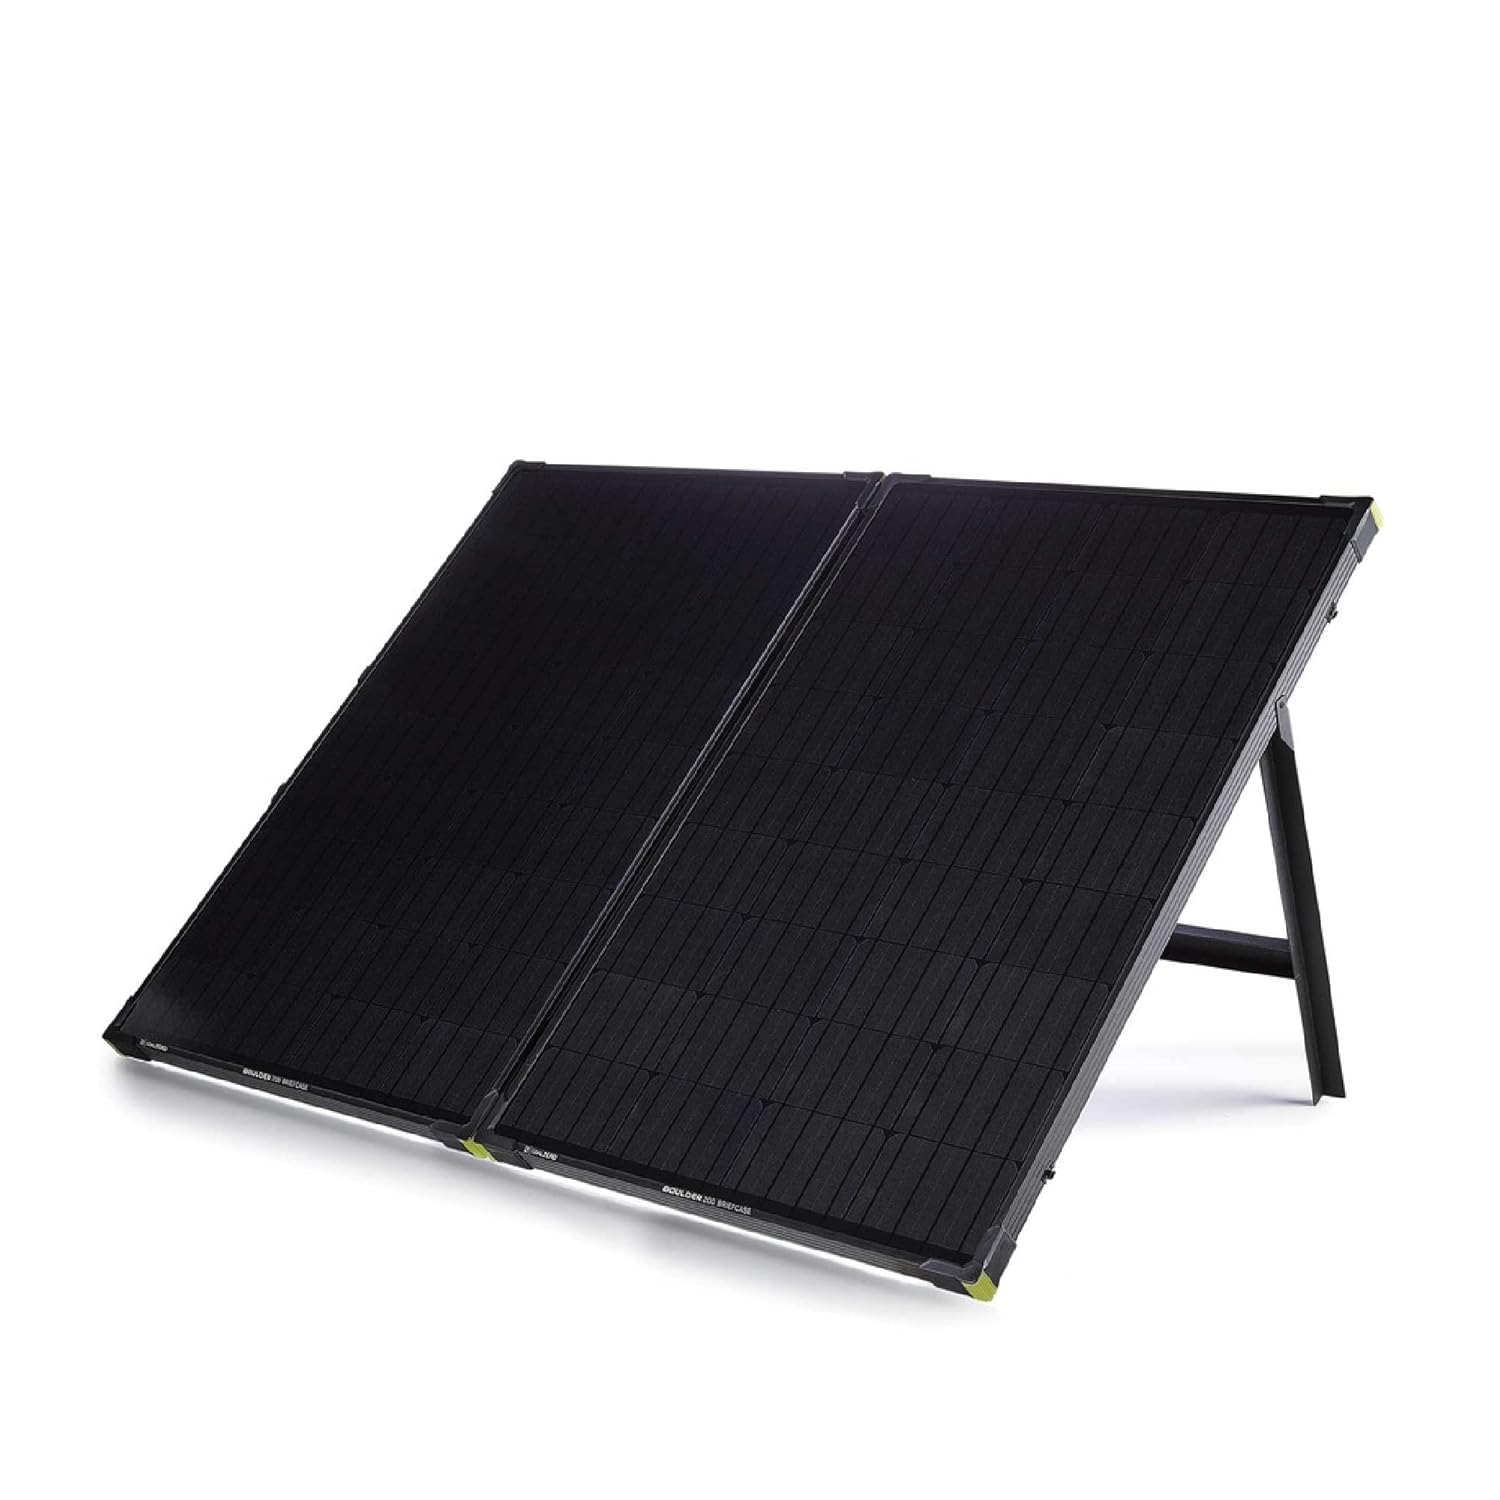
Mounting Configurations
Fixed Roof Mounts: Permanently attached panels offer durability and simplicity but cannot be adjusted for optimal sun angles. They’re ideal for full-time boondockers who prioritize reliability over flexibility.
Tilting Mounts: Adjustable mounts allow seasonal angle optimization, increasing energy capture by 20-30% compared to fixed installations. Perfect for those who camp longer in specific locations.
Portable Systems: Foldable panels with detachable cables provide maximum flexibility. While convenient for occasional boondockers, they require setup and breakdown with each move.
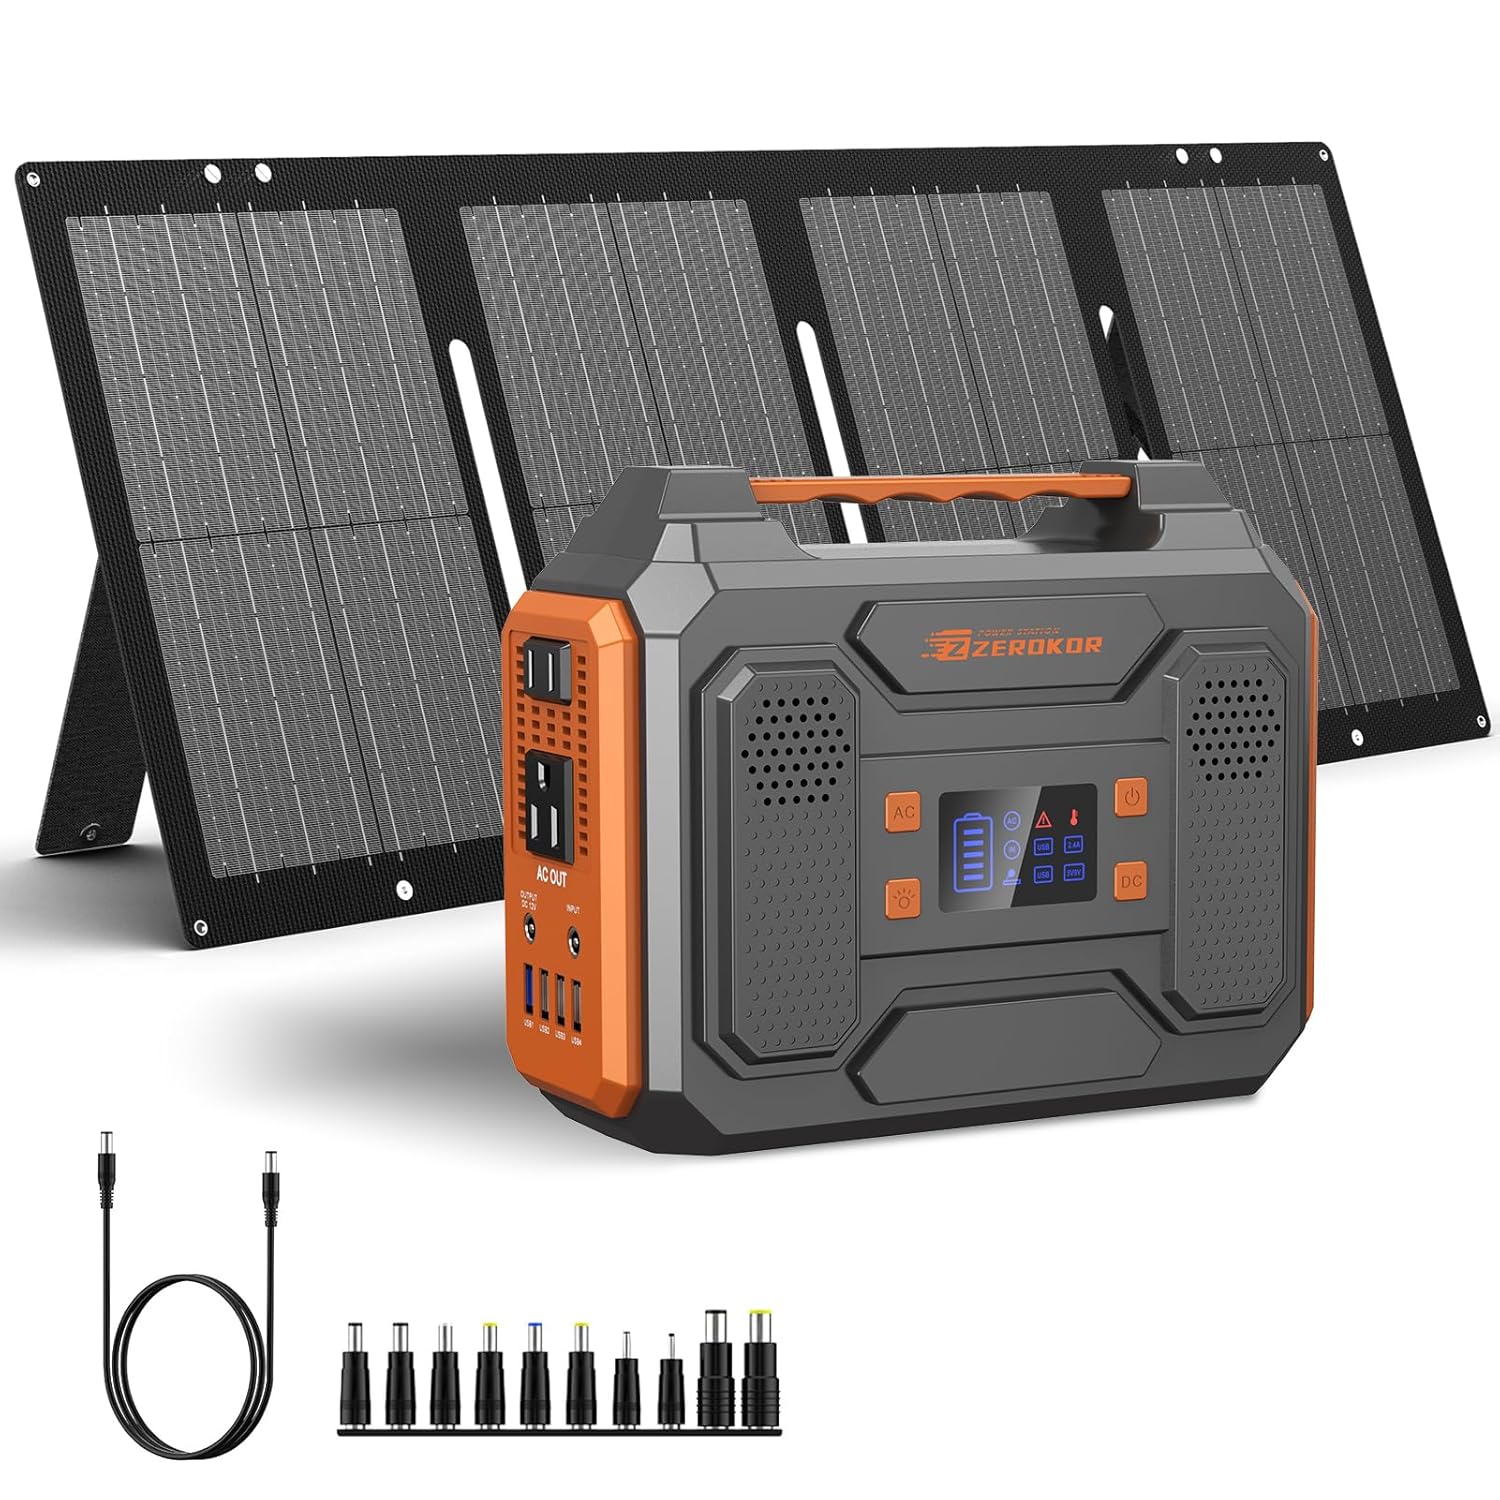
Battery Storage: Storing Your Power
Batteries are the critical link between solar generation and your power consumption. They store excess daytime energy for nighttime use, enabling true off-grid independence. Modern RV battery technology has evolved dramatically, offering options for every budget and requirement.
Modern lithium batteries like LiFePO4 offer superior performance and lifespan compared to traditional lead-acid options
Battery Chemistry Comparison
Lead-Acid (AGM)
Cost: $100-200/kWh | Lifespan: 3-5 years | Depth of Discharge: 50%
Traditional choice with proven reliability. Affordable upfront but requires frequent replacement and can only be discharged 50% to avoid damage.
Lithium LiFePO4
Cost: $600-1000/kWh | Lifespan: 10-15 years | Depth of Discharge: 95%
Modern standard with superior performance. Higher upfront cost recovered through longer lifespan, usable capacity, and minimal maintenance.
Lithium LiPo
Cost: $800-1200/kWh | Lifespan: 8-12 years | Depth of Discharge: 95%
Premium lightweight option preferred by weight-conscious RVers. Excellent performance but requires quality BMS and careful charging management.
Lithium batteries require a quality Battery Management System (BMS) to prevent overcharging, over-discharging, and thermal runaway. Always purchase from reputable manufacturers with built-in safety features and UL certification.
Calculating Battery Capacity
Battery capacity is measured in amp-hours (Ah) or kilowatt-hours (kWh). To determine required capacity:
- Calculate daily power consumption in watt-hours (Wh)
- Multiply by days of autonomy desired (typically 2-3 days)
- Divide by usable depth of discharge (95% for lithium, 50% for lead-acid)
- Account for 20% inefficiency loss in systems
Example: 1,000 Wh daily consumption × 3 days ÷ 0.95 depth of discharge × 0.8 efficiency = 3,947 Wh usable capacity needed. Choose a 4-5 kWh lithium battery system.
Inverters: Converting Power for Your Needs
While your solar panels and batteries store energy as direct current (DC), most RV appliances require alternating current (AC). Inverters perform this critical conversion, enabling you to power microwave ovens, air conditioning units, televisions, and other standard electrical devices.
Quality inverters ensure clean power delivery to sensitive electronics
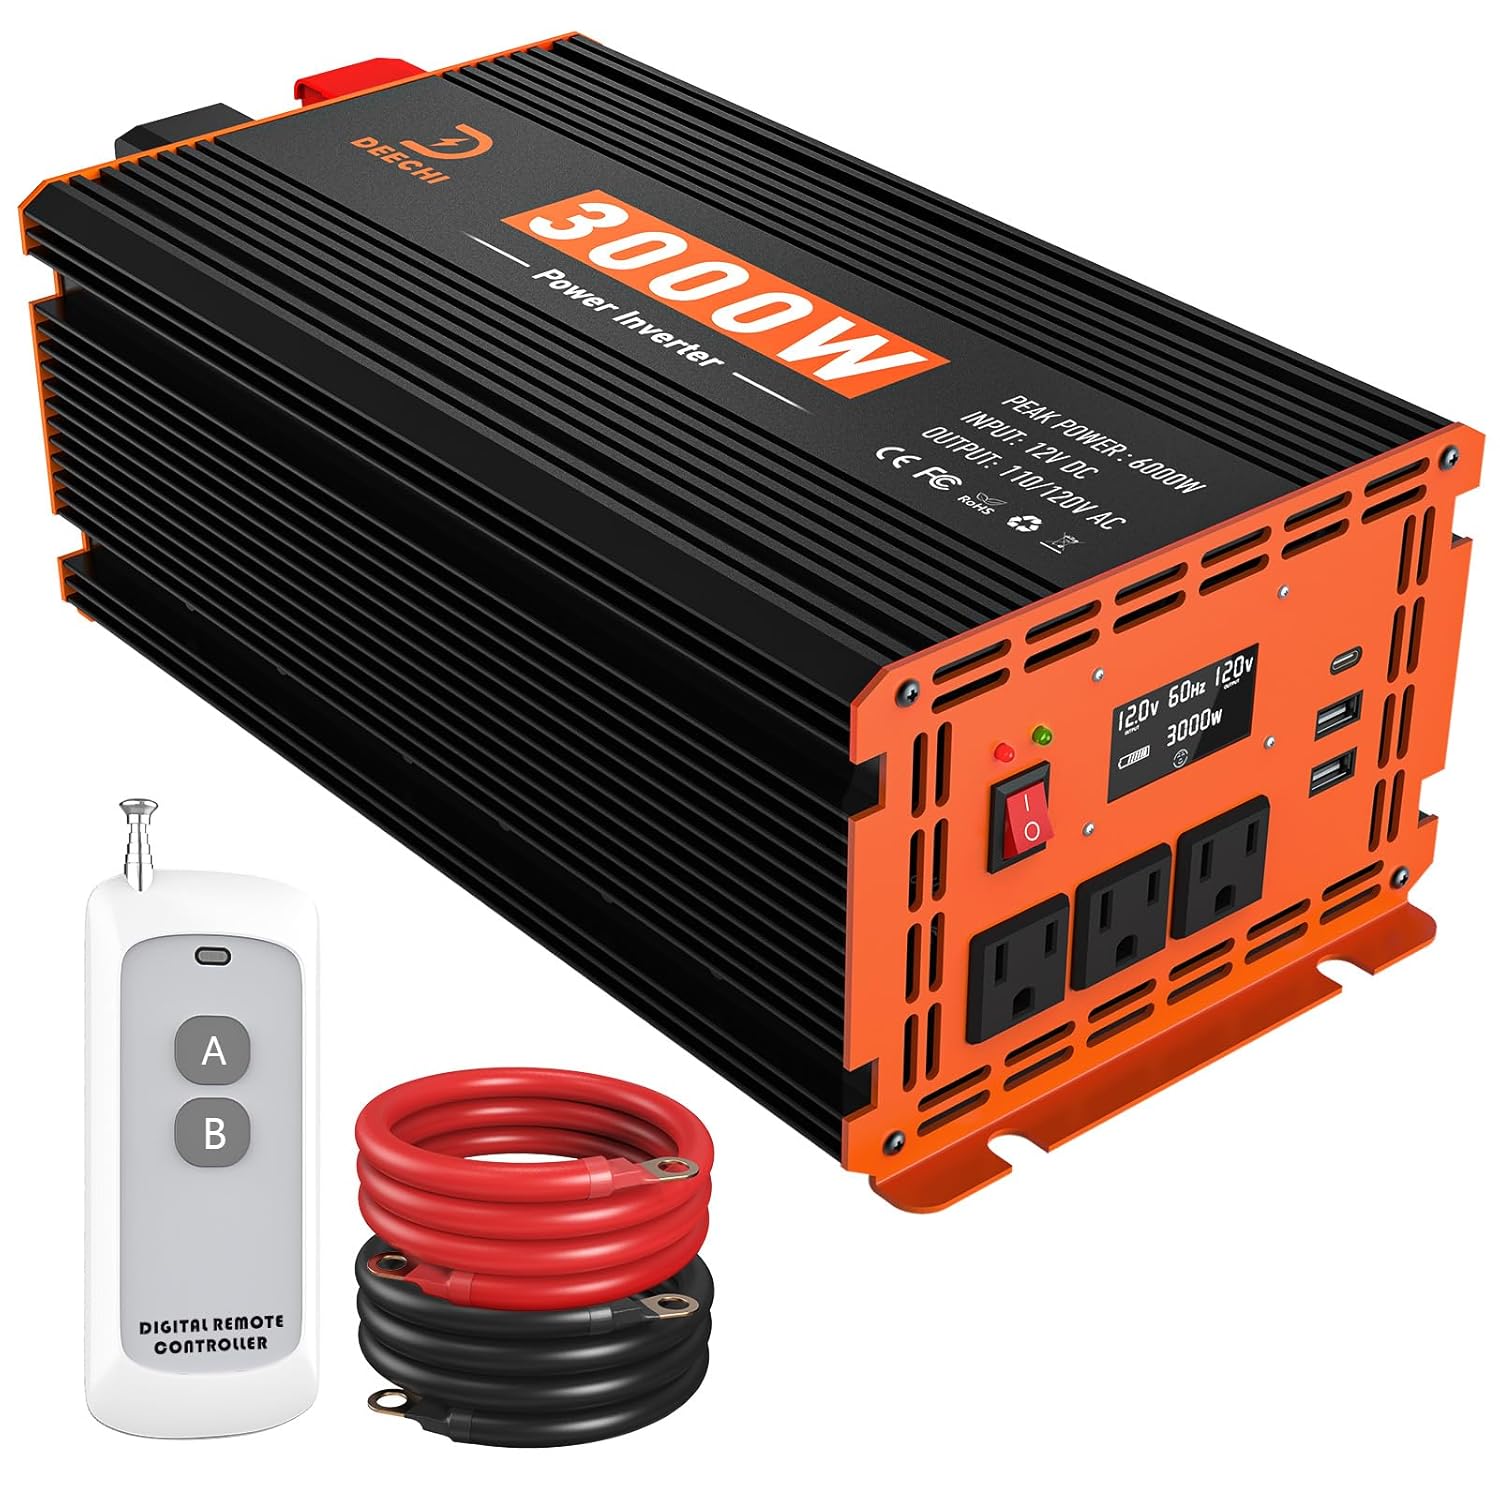
Types of Inverters
Modified Sine Wave
Budget-friendly option producing a stepped approximation of AC power. Adequate for simple loads but can cause problems with sensitive electronics, medical equipment, and some motors.
Pure Sine Wave
Premium option producing true AC current matching grid power quality. Compatible with all appliances, reduces electromagnetic interference, and protects sensitive equipment. Industry standard for serious boondockers.
Key Inverter Specifications
| Specification | Importance |
|---|---|
| Continuous Rating (W) | Sustained power output for extended operation; matches typical appliance needs |
| Surge Rating (W) | Peak power for 3-5 seconds; critical for motor startup in AC units and compressors |
| Input Voltage | Typically 12V, 24V, or 48V DC; must match your battery voltage |
| Efficiency | 90-98% efficiency affects battery drain; higher efficiency reduces parasitic losses |
| Charger Integration | Built-in charger accepts shore power during campground stays; convenient but adds complexity |
Inverter Sizing Guidelines
Continuous Load: Size inverter 25-30% above your typical simultaneous power draw. If you typically run devices totaling 1,000W, a 1,300-1,500W inverter provides comfortable headroom.
Surge Capacity: Air conditioning units, refrigerators, and water heater elements draw 2-3× their rated power during startup. Ensure surge rating exceeds your largest single appliance’s inrush current.
Installation Location: Mount inverters in well-ventilated areas away from moisture and heat sources. Proper ventilation prevents thermal shutdown during peak summer usage.
Designing Your Complete Solar System
Effective system design requires balancing solar panel capacity, battery storage, and inverter power across your daily energy needs. This integrated approach ensures reliability throughout varying weather conditions and camping scenarios.
Step-by-Step Sizing Process
Step 1: Assess Your Power Consumption
Document every appliance, its power rating (watts), and daily usage (hours). Include:
- Refrigerator/freezer (always running)
- Water heater and propane furnace ignition
- Ventilation fans and vent hoods
- Lighting (LED vs. incandescent)
- Laptop charging and USB device charging
- Microwave and cooking appliances
- Air conditioning (if desired)
Step 2: Calculate Daily Energy Needs
Multiply each appliance’s wattage by daily usage hours and sum all values. A modest travel trailer might consume 1,500-2,500 Wh daily, while an RV with AC could exceed 5,000+ Wh.
Step 3: Determine Peak Requirements
Identify the highest simultaneous power draw. If you want to run a 1,500W air conditioner while charging laptops and running lights, your inverter must handle approximately 2,000W continuous and 2,500W+ surge.
Step 4: Select Battery Capacity
Using the calculation method described earlier, select a battery system supporting 2-4 days of autonomy for flexibility during extended cloudy periods.
Step 5: Size Solar Array
Solar panels must generate enough power to meet daily consumption plus battery charging losses. A general rule: install 0.5-1.0 watts of solar per watt-hour of daily consumption (0.5W/Wh for sunny climates, 1.0W/Wh for variable climates).
- Daily consumption: 2,000 Wh
- Battery: 5 kWh LiFePO4 (3-4 days autonomy)
- Solar array: 2,000-4,000W capacity (1-2 kW minimum for variable weather)
- Inverter: 2,000-3,000W pure sine wave
- Charge controller: 60-80A MPPT (supports 4-6 kW array)
System Installation and Wiring
Professional installation ensures safety, efficiency, and reliability. However, understanding the process helps you make informed decisions and monitor system performance.
Proper system architecture with charge controller, battery, and inverter integration
Basic System Architecture
A complete solar system follows this flow: Solar Panels → Charge Controller → Battery Bank → Inverter → AC Appliances. Each component requires proper sizing, wiring, and circuit protection.
Critical Installation Considerations
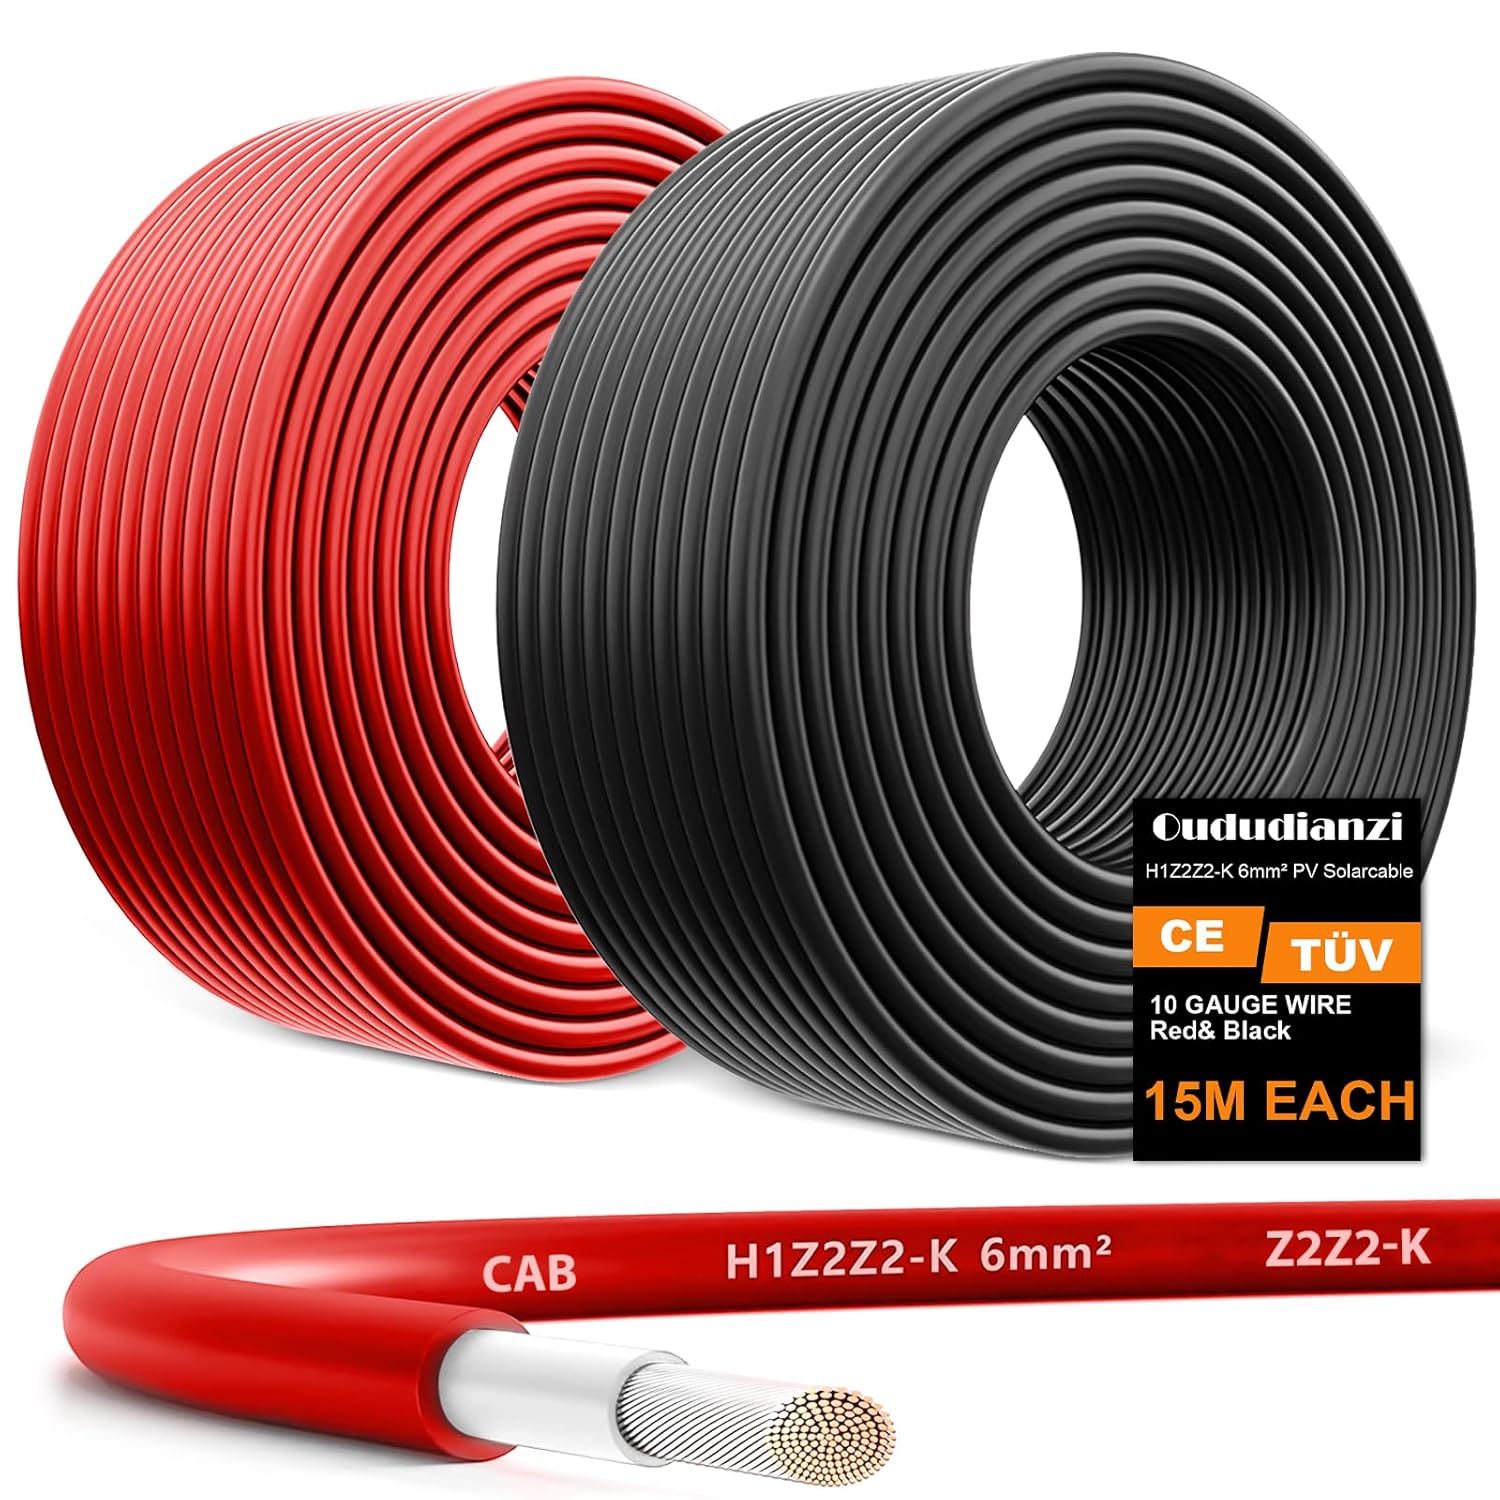
Wire Sizing: Undersized wiring causes voltage drop and efficiency loss. Use industry calculators to determine proper gauge based on cable run length and current load. Typical RV systems use 2/0 or 4/0 AWG for main battery cables.
Fusing and Breakers: Every circuit requires appropriate overcurrent protection. DC circuits typically use fuses placed within 18 inches of the battery, while AC circuits use standard circuit breakers matching utility standards.
Grounding: Proper grounding prevents electrical shock hazards and protects sensitive electronics. Connect battery negative terminal to RV chassis ground via dedicated cable.
Charge Controller: Maximum Power Point Tracking (MPPT) controllers are superior to PWM alternatives, extracting 10-30% more energy from panels. Position controllers in ventilated locations away from battery heat.
RV solar installation involves high-voltage electricity and battery chemistry hazards. Unless you have electrical expertise, hire a certified RV technician. Professional installation includes proper permitting, inspection, and warranty coverage.
Best Practices for Successful Boondocking
Monitoring and Maintenance
- Regular Inspections: Check panel connections quarterly for corrosion and ensure batteries remain clean and dry
- Monitor System Status: Use battery monitors to track state of charge, voltage, and consumption patterns
- Firmware Updates: Keep inverter and charge controller firmware current for optimal performance
- Battery Maintenance: Lithium systems need minimal care; lead-acid systems require periodic equalization
Maximizing Solar Efficiency
- Panel Orientation: Position panels facing your dominant weather direction (south in Northern Hemisphere)
- Avoid Shade: Even partial shade reduces output dramatically; check shade patterns at camping locations
- Clean Panels: Monthly cleaning with soft brush and deionized water maintains peak efficiency
- Seasonal Adjustment: Tilt panels 30-40° steeper in winter, 10-20° in summer for optimal angles
Extending Battery Life
- Avoid deep discharges below 20% state of charge regularly
- Maintain consistent operating temperatures between 32-86°F (0-30°C)
- Never completely drain lithium batteries; use systems with low-voltage cutoffs
- Balance energy consumption with generation capacity
Smart Load Management
- Operate high-power devices during peak solar hours (10 AM – 4 PM)
- Use propane for heating and cooking instead of electric alternatives
- Upgrade to LED lighting throughout the RV (90% efficiency improvement)
- Minimize refrigerator cycling through proper insulation and sealed doors
Install secondary battery banks for future expansion. Many RVers start with modest 5 kWh systems and later add 5-10 kWh more when they discover their actual needs. Design your installation for scalability from the beginning.
Conclusion: Freedom Through Solar Power
A well-designed solar power system transforms boondocking from a occasional adventure to a sustainable lifestyle. By understanding solar panels, batteries, and inverters, you can confidently design a system matching your unique needs and budget constraints.
Start by honestly assessing your power consumption, select components appropriately, and consider professional installation for complex systems. The investment in quality equipment and proper design pays dividends through years of reliable, silent, off-grid camping experiences.
Whether you’re seeking weekend escapes to remote national parks or pursuing full-time RV life, solar power provides the independence and sustainability modern boondockers demand. Begin your journey today, and discover the freedom that comes with energy independence.
Ready to Start Your Solar Journey?
Explore our premium selection of RV solar panels, batteries, and inverters designed for boondocking success.
🛒 Browse Solar Panels & ComponentsVisit our comprehensive shop for professional-grade solar equipment backed by expert guidance